Tuesday, March 26, 2013

Family History, Family Fish


Our theme this month is Family History -- and to make passing off our Faith in God goal even more fun, we turned it into a game. The girls each brought names to complete a two-generation Family Tree. [This cute printable thanks to the "A Year of FHE" blog. A bigger family tree available here from SugarDoodle.]

Then, we played a few rousing games of Family Fish and Old Satan—my spin on the classic card games Go Fish and Old Maid. Get instructions and Family Fish printables here. Plan on a good time (or go fish!)

Goal completed: Learning and Living the Gospel

Wednesday, February 20, 2013

Articles of Faith Memory Cues

Long, long ago in a Primary far, far away, I had a dedicated Primary chorister who taught us all the Articles of Faith using the really weird melodies found in the Primary songbook. I still remember them to this day thanks to the music. But I'll admit, some of the tunes just aren't that catchy.

Instead, we're working on some of our own memory devices for memorizing the Articles of Faith. The genesis of the idea came from another blogger; these have been made our own.

Each month we learn or review the Article of Faith number associated with the month (1 for January, 2 for February, etc.). This keeps everyone in the loop, no matter how new they are to Activity Days. To learn number 13, we do a special activity (more on that later).

Here are downloadable copies of each Article of Faith and its memory cues. We keep a printout of each in the girls' binders so they can refer to them every activity.

1st Article of Faith cues

2nd Article of Faith cues

3rd Article of Faith cues

4th Article of Faith cues

5th Article of Faith cues

6th Article of Faith cues

7th Article of Faith cues

8th Article of Faith cues

9th Article of Faith cues

10th Article of Faith cues

11th Article of Faith cues

12th Article of Faith cues

13th Article of Faith (No cues right now; we use the Primary song)

Music Month for Activity Days

Ready to learn basic conducting, make a craft, and dance it out? Our Music Month had it all -- and turned out to be some of our best Activity Days ever.

Learn Music Conducting
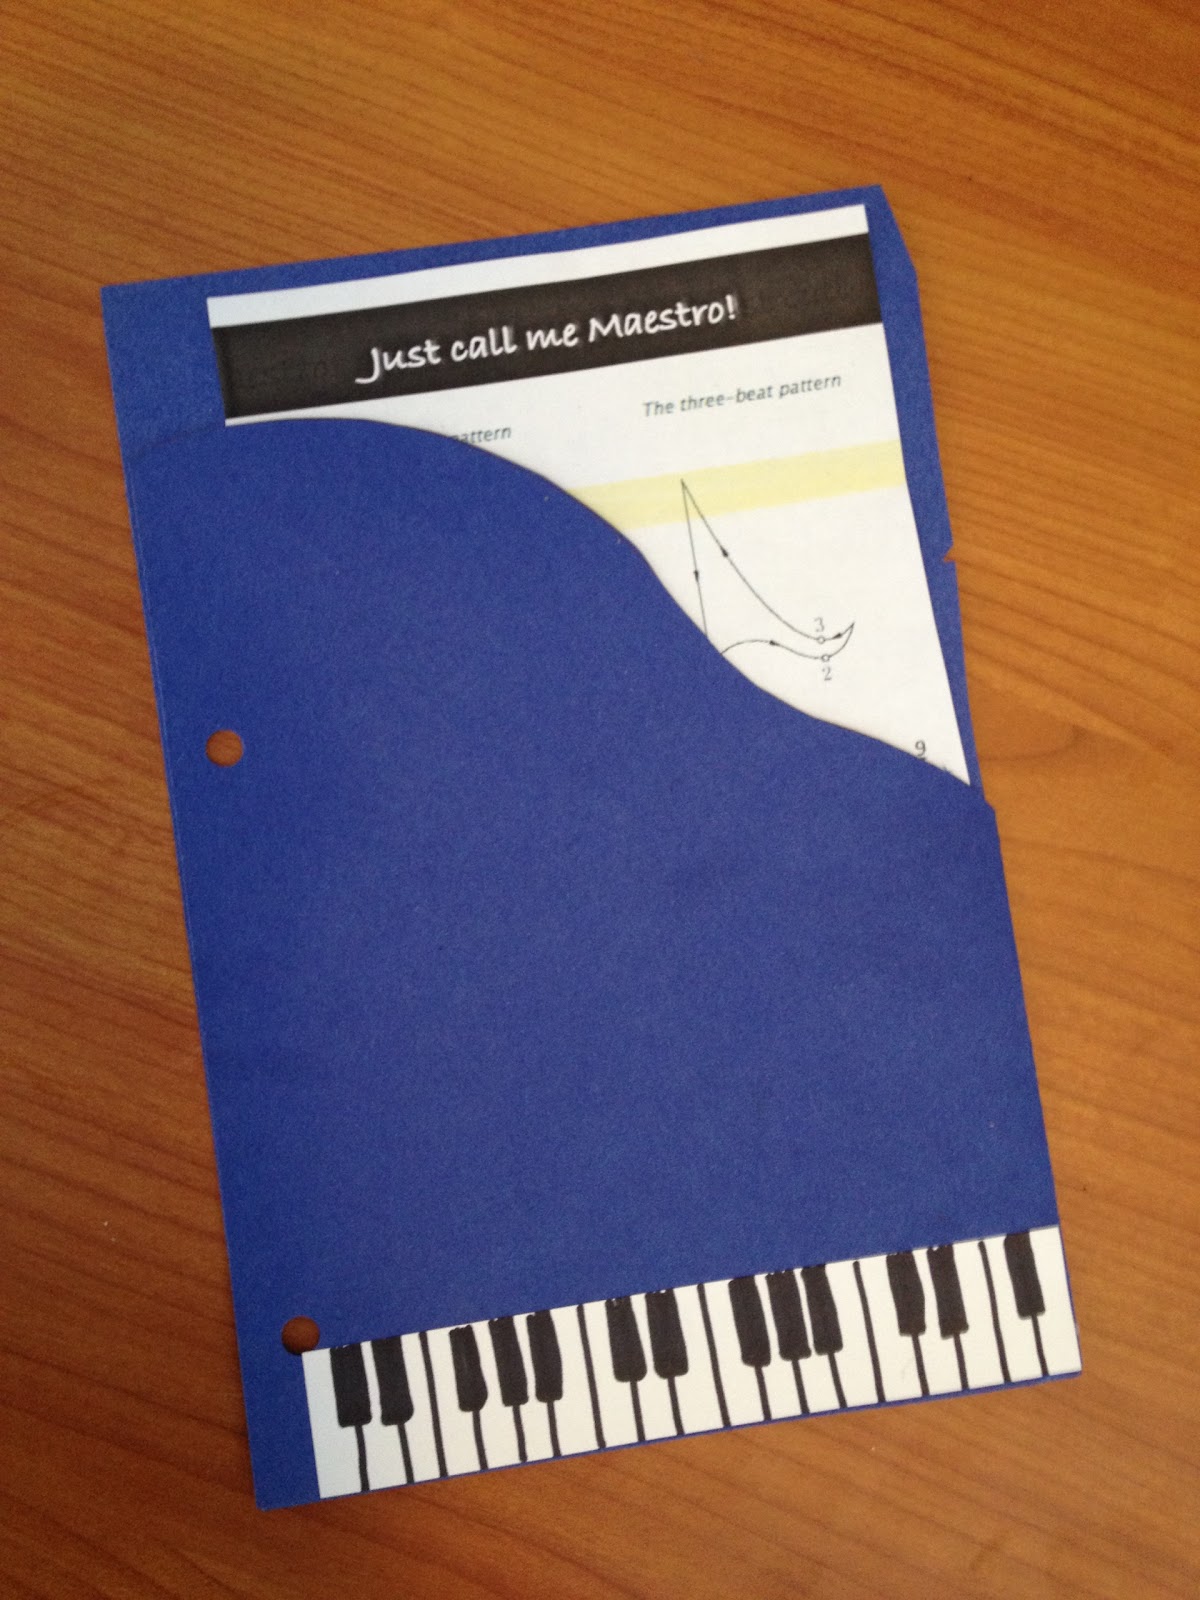
Print the basic conducting patterns onto half sheets of paper. To make a piano pocket folder for the instructions, fold a piece of construction paper in half. Unfold and on one side of the fold, cut a curved shape like the overhead view of a grand piano. With the paper folded again, staple the loose edges together on the side and bottom for form a pocket. Cut a 1-1/2" x 6" strip of white paper. Draw a series of parallel lines across the short side of the paper, all the way down. These will become the white keys of the "piano." To make the black keys, color in rectangles that are half the length of the keys and overlap the lines. Show the girls how black keys are grouped in 2's and 3's -- they make up a pattern all the way down the keyboard.


Choose various songs from the Primary music book to try your hand at leading 4/4, 3/4, 6/8, and 2/2 time.


Make Music Batons
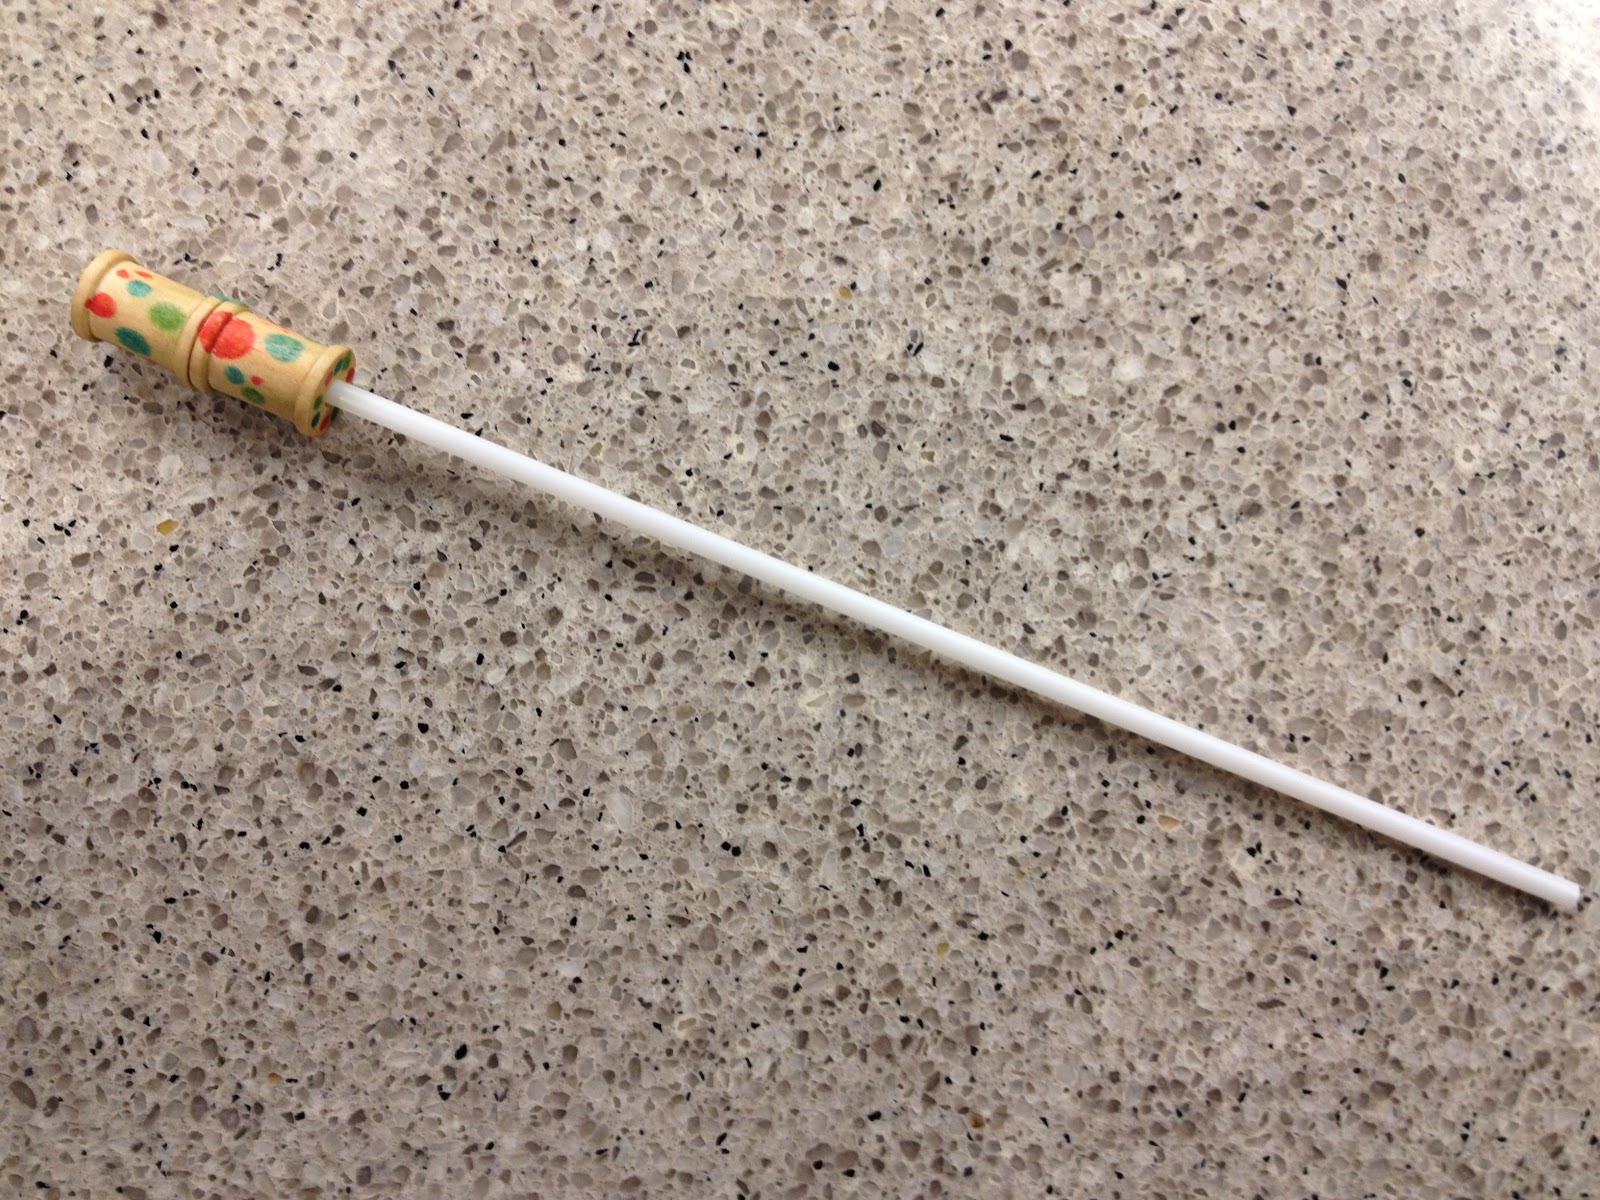
This music baton craft was easy, cheap and useful. Each baton is made from a plastic balloon stick (purchase from party stores like Zurchers; they come in 24" lengths, cut in half to make two 12" sticks) and two small wooden spools (you can buy a package of 20 from Michaels for just a few dollars).

Before the activity, use a hot glue gun to glue the two spools on the end of a stick as a handle. Thread the two spools onto the stick. While holding one spool at the bottom of the stick, squeeze glue in the center of the spool and at its base; let glue cool to affix the bottom spool. Add a few drops of glue on the top of that spool and press the other spool on top of it. Your handle is the two spools glued together.


During the activity, let the girls decorate their handles using permanent markers, stickers, rhinestones, etc.

I chose to keep the batons afterwards and apply a coat of sealant to the handles. We gave the batons back to the girls at the next activity to take home.


Play Music Match
Choose about a dozen songs to play "memory." Write each song on the back of a recipe card, then make a duplicate card of each song. We used about 10 popular songs from the radio (which are all in 4/4 time) plus a few songs everyone knows in 3/4 time. (Happy Birthday, Away in a Manger, etc.)

Mix up the cards and put them face down on a table (or tape them to a board or wall). The girls turn over two cards at a time, hoping to find matching song titles.

When a match is found, we played the song from an MP3 playlist we'd prepared with all the songs from the game. The girls used their batons to lead along with the music, but more than anything LOVED dancing, singing and conducting along with their favorite music. Bravo to this activity!

Faith In God Goal: Preparing for YW
(learning how to conduct music is a way you can serve others; it is a talent you'll be able to use in YW and beyond)


Saturday, January 19, 2013

New Year Resolutions

I set a goal this year to be a little more organized for Activity Days -- and that led to helping the girls set their New Year goals, too. For our first January activity, we talked about what it means to make a resolution (a big goal) and how we take lots of small steps or goals to get there.

The girls completed a New Year Resolution worksheet with six things they want to work on this year -- all tied into their Faith in God goals.

Daily Faith goals are things the girls want to get better at all year long. For example: pray night and morning, read scriptures daily, go to church every week, etc.

Articles of Faith goal was a personal decision about how many of these to memorize this year.

The rest of the goals (Learn and Live the Gospel, Serve Others, Develop Talents, Prepare for YW) may be selected directly from the Faith in God book if desired, or are original ideas in these topics.

After the girls wrote their goals on the worksheet (which I put in individual Activity Day binders), they transferred the goals onto a New Year Blower to take home.

We took a photo of each girl with her blower; once printed, the photo goes on her worksheet in the binder as a reminder of our activity.


To make the New Year Blower:
Fold a piece of patterned scrapbook paper in half. Cut out a wedge shape and glue the two pieces together to create a double-sided piece.

Cut a 2" strip of white paper using scalloped-edge scissors. Glue this on the wide end of the blower piece with the scalloped edge facing the middle. Trim away extra white paper. Do the same for the narrow end of the blower, but overlap only 1/2" of the scalloped edge to make the "mouthpiece."

Cut a 2" long piece of colored crepe paper. Fringe the edges on one side (don't cut all the way through). Tape the crepe paper, fringed edge extending 1-1/2" beyond the wide end, to the back side of the blower.


Cut a 2" x 8-1/2" stip of white paper. Tape one end to the wide end of the blower on top of the crepe paper.


Write New Year goals on the white strip. When complete, wrap the long end of the white strip around a pencil tightly, then release. The paper will curl up like a new year noisemaker.


The girls were excited to take these home and put them in their journals, tape them to their mirrors or bulletin boards, etc.